

最近由于项目需要,开始学习单元测试。但是卡在了测试框架与 Spring 整合的地方,没法启动 Spring 容器,导致测试类中使用的 bean 无法自动注入。查了很多资料,最后把 JUnit4 和 TestNG 与 Spring 整合的问题都解决了。
前置准备
引入 jar 包
我们需要扫描类,需要 spring-context。
Spring 需要与测试框架整合,所以需要 spring-test。
使用 JUnit4 测试时,需要引入 junit。
使用 TestNG 时,需要引入 testng。
完整的 pom.xml 文件内容如下:
<?xml version="1.0" encoding="UTF-8"?> <project xmlns="http://maven.apache.org/POM/4.0.0" xmlns:xsi="http://www.w3.org/2001/XMLSchema-instance" xsi:schemaLocation="http://maven.apache.org/POM/4.0.0 http://maven.apache.org/xsd/maven-4.0.0.xsd"> <modelVersion>4.0.0</modelVersion> <groupId>com.zcl</groupId> <artifactId>test</artifactId> <version>1.0-SNAPSHOT</version> <dependencies> <dependency> <groupId>org.springframework</groupId> <artifactId>spring-context</artifactId> <version>5.0.6.RELEASE</version> </dependency> <dependency> <groupId>junit</groupId> <artifactId>junit</artifactId> <version>4.12</version> <scope>test</scope> </dependency> <dependency> <groupId>org.springframework</groupId> <artifactId>spring-test</artifactId> <version>5.0.6.RELEASE</version> <scope>test</scope> </dependency> <dependency> <groupId>org.testng</groupId> <artifactId>testng</artifactId> <version>6.14.3</version> <scope>test</scope> </dependency> </dependencies> </project> |
创建待测试方法
新建一个类 Greeting
package com.zcl; import org.springframework.stereotype.Component; /** * @author: changle * @time: 2019-06-18 05:16 */ @Component public class Greeting { public void sayHello() { System.out.println("你好呀"); } } |
类中只包含一个简单的方法,我们用这个方法进行测试。
创建 Spring 配置文件
在 resources 文件夹下创建 applicationContext.xml 文件
<?xml version="1.0" encoding="UTF-8"?> <beans xmlns="http://www.springframework.org/schema/beans" xmlns:xsi="http://www.w3.org/2001/XMLSchema-instance" xmlns:context="http://www.springframework.org/schema/context" xsi:schemaLocation="http://www.springframework.org/schema/beans http://www.springframework.org/schema/beans/spring-beans.xsd http://www.springframework.org/schema/context http://www.springframework.org/schema/context/spring-context.xsd"> <context:component-scan base-package="com.zcl"/> </beans> |
只添加包扫描就行了。
JUnit4
在 IDEA ,我们在类名上按下 command + shift + t,可以快捷的在 test 文件夹下创建包名相同的测试类。

这里还可以选择生成一些可能会用到的辅助方法。在 Testing library 中可以选择用到的测试框架,非常的方便。
我们在生成的类的基础上编写一个简单的测试方法并添加能够整合 Spring 的一些配置。
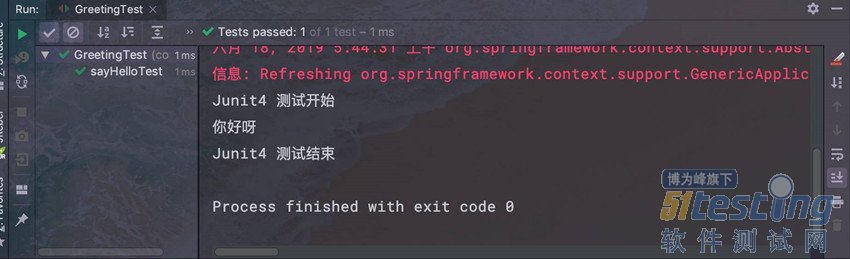
package com.zcl; import org.junit.Test; import org.junit.runner.RunWith; import org.springframework.beans.factory.annotation.Autowired; import org.springframework.test.context.ContextConfiguration; import org.springframework.test.context.junit4.AbstractJUnit4SpringContextTests; import org.springframework.test.context.junit4.SpringJUnit4ClassRunner; /** * @author: changle * @time: 2019-06-18 05:19 */ @RunWith(SpringJUnit4ClassRunner.class) @ContextConfiguration("classpath:applicationContext.xml") public class GreetingTest extends AbstractJUnit4SpringContextTests { @Autowired private Greeting greeting; @Test public void testSayHello() { System.out.println("JUnit4 测试开始"); greeting.sayHello(); System.out.println("JUnit4 测试结束"); } } |
首先是 @RunWith 注解,JUnit 用例都是在 Runner(运行器)中执行的。通过这个注解,我们可以为测试类指定我们需要的 Runner,因为是和 Spring 整合,所以选择 SpringJUnit4ClassRunner。
接下来是 @ContextConfiguration。
这个注解会加载我们填入的文件,以便注入需要使用的 bean。
我们的类继承了 Spring 提供的 AbstractJUnit4SpringContextTests 这个接口,用于获取 Application Context。
运行测试用例,最后得到的结果如图所示:
TestNG
依然是创建测试用例,与 JUnit 的区别只是获取Application Context的方式不同。
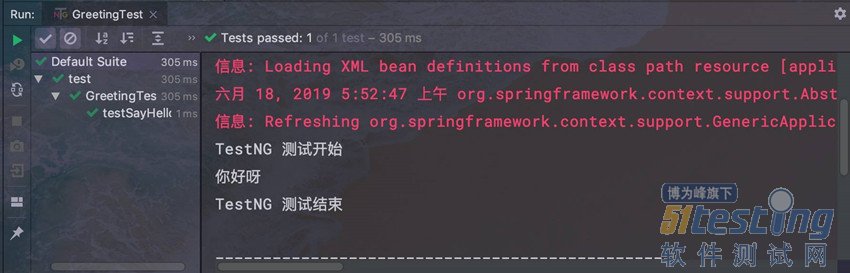
package com.zcl; import org.springframework.beans.factory.annotation.Autowired; import org.springframework.test.context.ContextConfiguration; import org.springframework.test.context.testng.AbstractTestNGSpringContextTests; import org.testng.annotations.Test; /** * @author: changle * @time: 2019-06-18 05:45 */ @ContextConfiguration("classpath:applicationContext.xml") public class GreetingTest extends AbstractTestNGSpringContextTests { @Autowired private Greeting greeting; @Test public void testSayHello() { System.out.println("TestNG 测试开始"); greeting.sayHello(); System.out.println("TestNG 测试结束"); } } |
同样有采用 @ContextConfiguration 来引入 Spring 配置文件。
TestNG 不再需要加入 Runner。
测试类继承的是 AbstractTestNGSpringContextTests,这样才可以访问到Application Context。
运行测试用例,得到的结果如下图
总结
其实这两种框架与 Spring 集成需要的配置差不多,学会了测试框架与 Spring 集成之后,我们就可以方便地写单元测试了。
这两个测试框架都还支持很多种类的测试,之后会继续分享它们的其他功能的使用案例。
上文内容不用于商业目的,如涉及知识产权问题,请权利人联系博为峰小编(021-64471599-8017),我们将立即处理。


