module.exports = async function (context, commands) {
// 括号写你要测试的网站地址
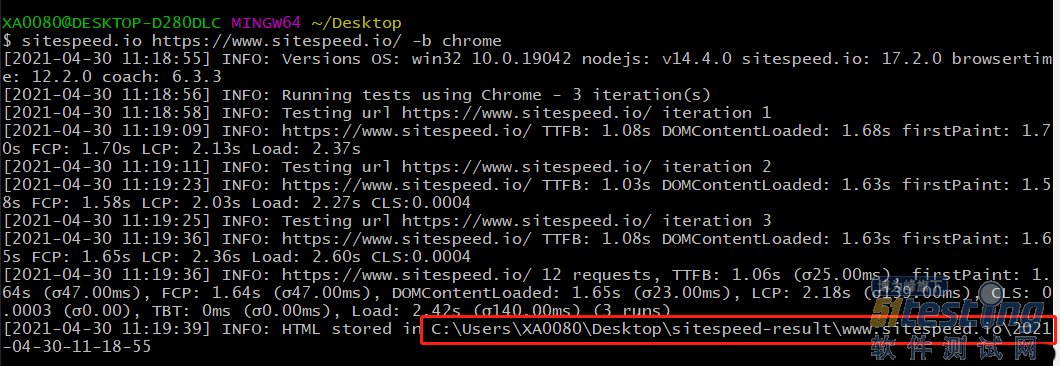
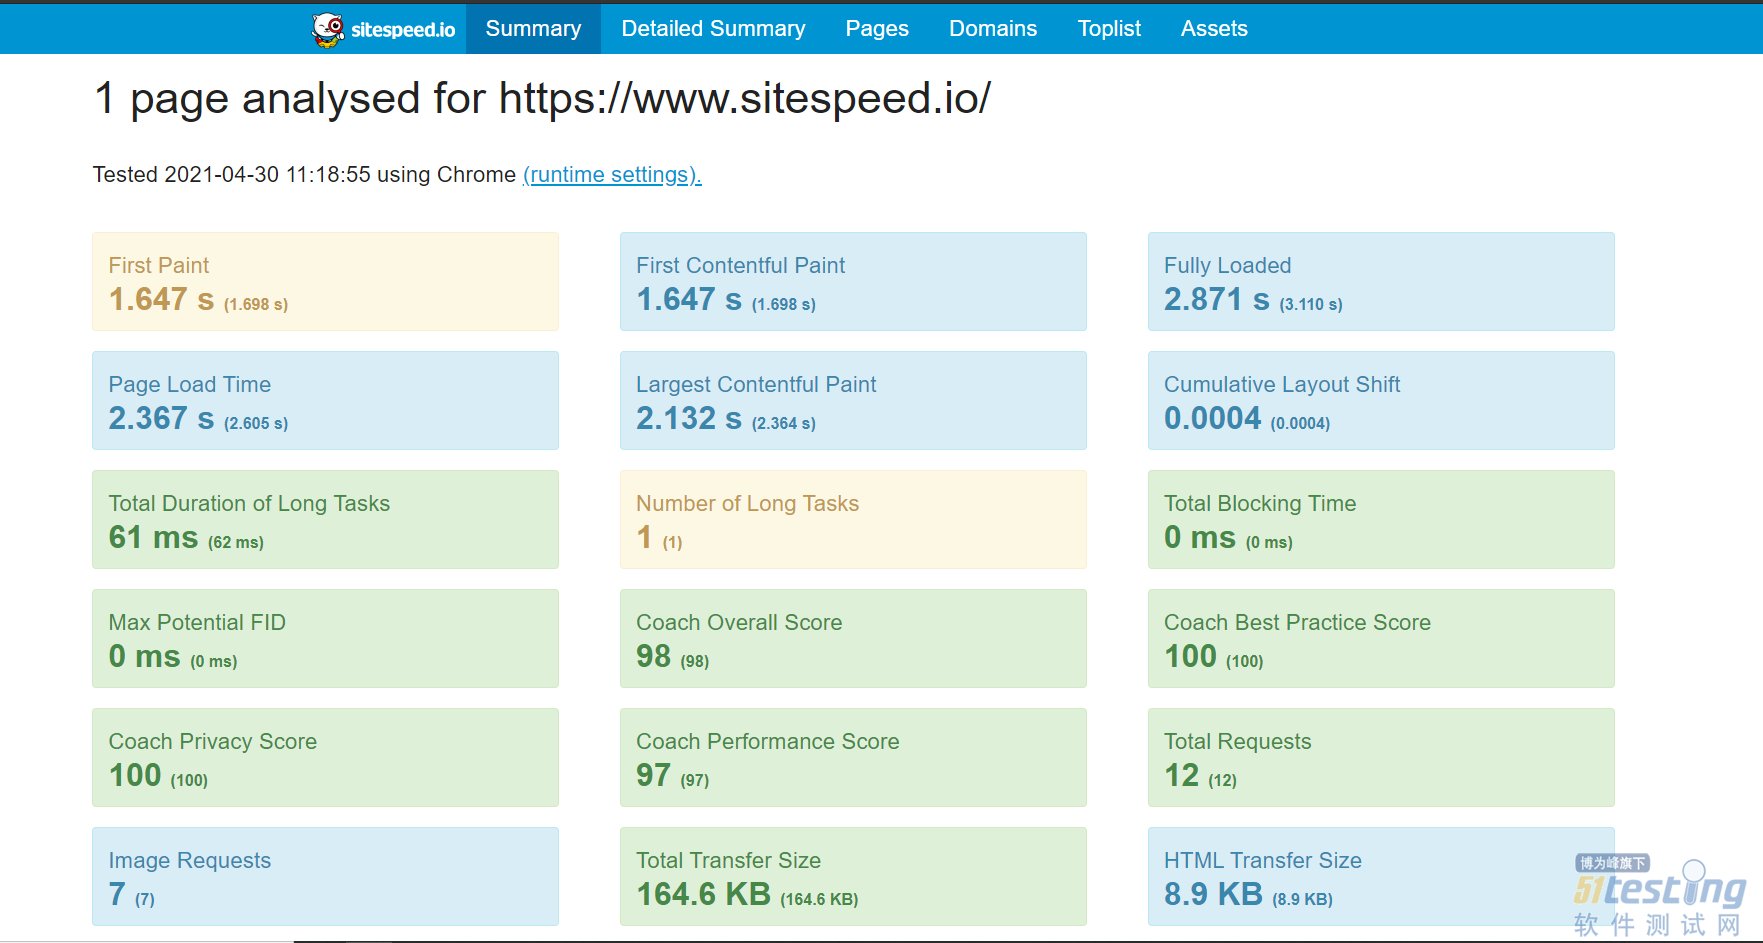
await commands.navigate("https://a.b.com/");
try {
// 登录你要测试的网站,用户名007,密码123456,
//await commands.addText.byId('login', 'wpName1');
//await commands.addText.byId('password', 'wpPassword1');
//上面两行是官网给的例子,由于很多情况我们并不知道元素的id,所以我用了byXpath,实际使用中,请替换为自己网站登录框的Xpath
await commands.addText.byXpath("007",'//input[@name="username"]');
await commands.addText.byXpath("123456", '//input[@type="password"]');
//截个图,截图名称取为1,当然也可以不截图
await commands.screenshot.take("1");
await commands.measure.start("login");
//这里是点击登录按钮,同样用的byXpath
await commands.click.byXpath(
'//*[@id="root"]/main/section[2]/div/div[1]/div/div[4]/button'
);
//又截了个图,可以不要
await commands.screenshot.take("2");
//等待了5秒,可以不要
await commands.wait.byTime(5000);
//打个日志,日志可以在命令行里面看到
context.log.info("我是一般日志");
context.log.error("我是错误日志");
// Stop and collect the metrics
await commands.measure.stop();
//再打开一个页面
await commands.measure.start(
'https://a.b.com/recommend/fields'
);
//等待了4秒
await commands.wait.byTime(4000);
//再打开一个页面
await commands.measure.start(
'https://a.b.com/marketingCenter/officialAccounts/fans'
);
await commands.wait.byTime(4000);
return commands.measure.start('https://a.b.com/loyaltyprogram/memberInsight/list');
} catch (e) {
// We try/catch so we will catch if the the input fields can't be found
// The error is automatically logged in Browsertime an rethrown here
// We could have an alternative flow ...
// else we can just let it cascade since it caught later on and reported in
// the HTML
throw e;
}
};