9.1.1版本:
Windows-x64下载地址:
http://download-keycdn.ej-technologies.com/jprofiler/jprofiler_windows-x64_9_1_1.exe
根据提示安装即可;
linux下载地址:
http://download-keycdn.ej-technologies.com/jprofiler/jprofiler_linux_9_1_1.rpm
安装:rpm -ivh jprofiler_linux_9_1_1.rpm
安装后,会生成目录:/opt/jprofiler9
注意:windows和linux两个安装包的版本需要一致,否则远程连接时,会提示版本不匹配!
注册码:
L-Larry_Lau@163.com#36573-fdkscp15axjj6#25257(亲测可用)
L-Larry_Lau@163.com#5481-ucjn4a16rvd98#6038
L-Larry_Lau@163.com#99016-hli5ay1ylizjj#27215
L-Larry_Lau@163.com#40775-3wle0g1uin5c1#0674
L-Larry_Lau@163.com#7009-14frku31ynzpfr#20176
L-Larry_Lau@163.com#49604-1jfe58we9gyb6#5814
L-Larry_Lau@163.com#25531-1qcev4yintqkj#23927
L-Larry_Lau@163.com#96496-1qsu1lb1jz7g8w#23479
L-Larry_Lau@163.com#20948-11amlvg181cw0p#171159
二、配置JProfiler生成脚本
在本机配置JProfiler生成startup_jprofiler.sh脚本,生成方式如下:
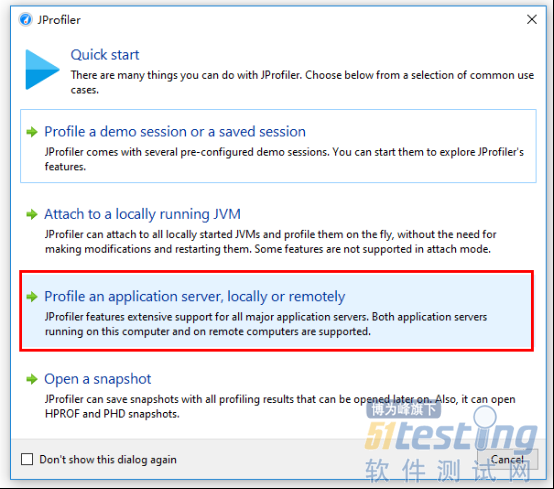
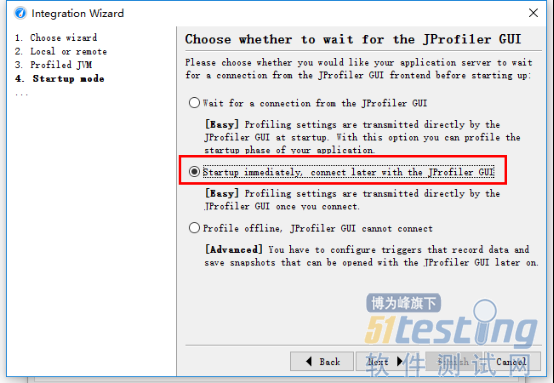
运行JProfiler,弹出提示对话框:
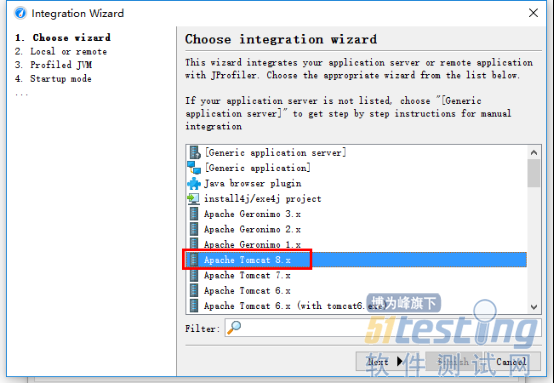
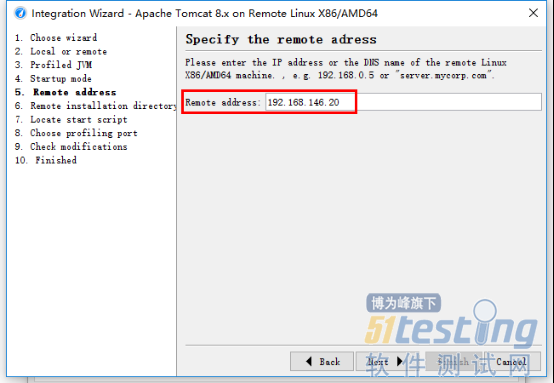
这里使用的是Apache Tomcat 8.x:
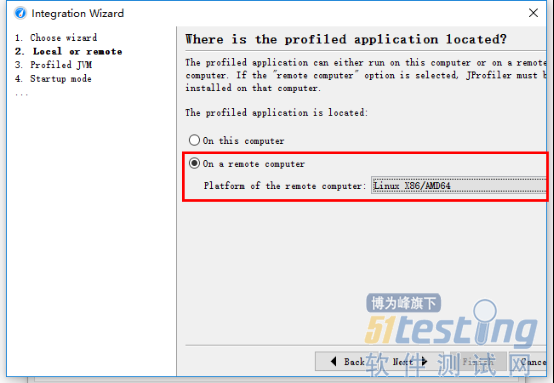
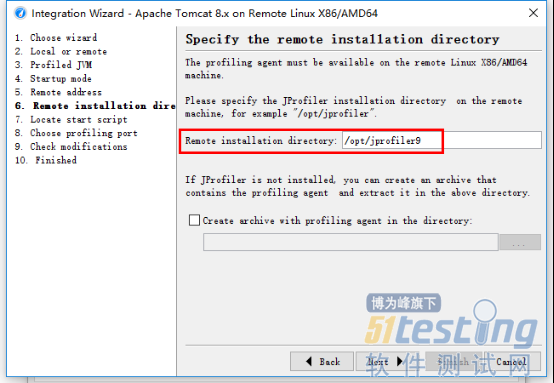
远程服务器JProfiler的安装路径,默认在/opt/jprofiler9:
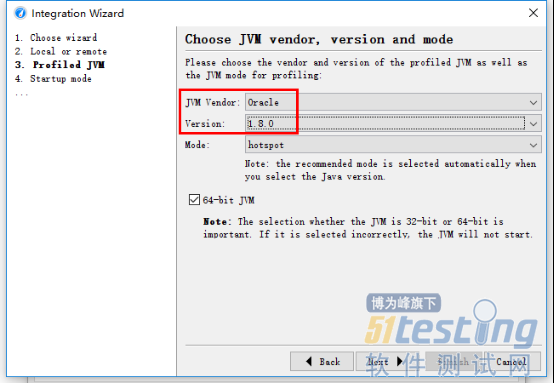
tomcat的startup.sh脚本,从远程服务器上把tomcat的bin目录下的startup.sh复制到本地,再选择本地的路径:

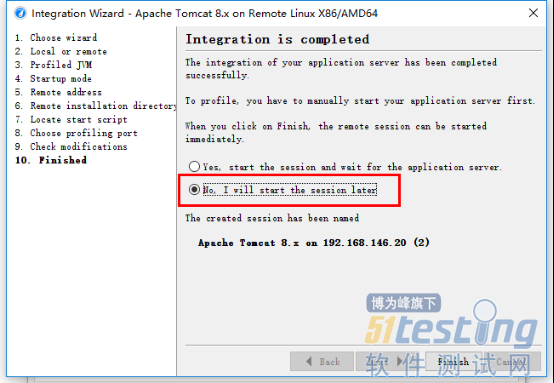
Finish后,会在Start Center显示刚创建的Session:

上传脚本:
把生成出的startup_jprofiler.sh(在选择的startup.sh目录中)文件上传到远程tomcat的bin目录下
chmod +x startup_jprofiler.sh(脚本赋写权限)
启动脚本:
./startup_jprofiler.sh,然后就可以再本地远程访问了
对比startup.sh和startup_jprofiler.sh:
#################################################################
[root@localhost bin]# diff startup.sh startup_jprofiler.sh
60c60,69
< exec "$PRGDIR"/"$EXECUTABLE" start "$@"
---
>
> # The following lines have been added by the
> # application server integration wizard of JProfiler
>
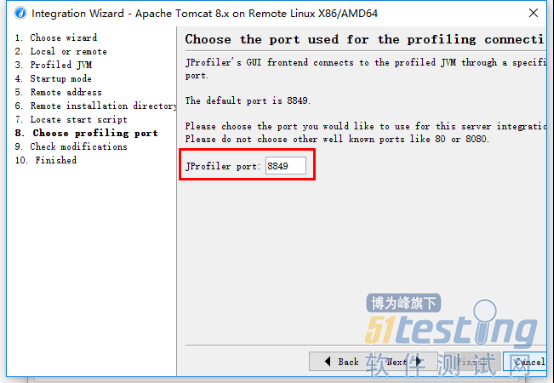
> CATALINA_OPTS="-agentpath:/opt/jprofiler9/bin/linux-x64/libjprofilerti.so=port=8849,nowait $CATALINA_OPTS"
> export CATALINA_OPTS
>
> # end of modifications
>
> exec "$PRGDIR"/"$EXECUTABLE" run "$@"
#################################################################
startup_jprofiler.sh只多了下面两行:
CATALINA_OPTS="-agentpath:/opt/jprofiler9/bin/linux-x64/libjprofilerti.so=port=8849,nowait $CATALINA_OPTS"
export CATALINA_OPTS
三、启动Session
初始化profiling设置,这里选择所有功能:
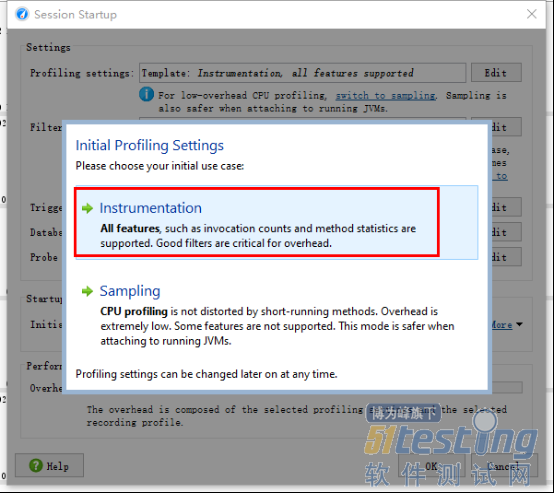
可以开始jprofiler分析了。

