

进入浏览器
截屏,输出 PDF,或者打印都是很有效的工具。但毕竟只包含结果。有些时候,我们希望直接进入这个浏览器,看看到底发生了什么,rod 当然也是支持的。为了方便调试,我们可以把一些高阶的调试 option 打开,修改上面代码如下:
package main
import (
"time"
"github.com/go-rod/rod"
)
func main() {
page := rod.New().NoDefaultDevice().MustConnect().MustPage("https://www.wikipedia.org/")
page.MustWindowFullscreen()
page.MustWaitLoad().MustScreenshot("a.png")
time.Sleep(time.Hour)
}
NoDefaultDevice 和 MustWindowFullscreen 能够将页面最大化,方便我们观看;
这里我们也加上 time.Sleep 让它保持一段时间。
运行命令:
go run . -rod=show
这里的选项 show 意味着在前台展示浏览器的 UI,我们就会看到这样的页面:

我们可以使用 ctrl+c 来停止调试。
输入和点击
仅仅能够打开网页显然不足以满足我们的诉求,下面我们来看看怎样去操纵页面上的元素。还是以刚才的 wikipedia 页面为例,我们来看一个示例,如何通过代码,让网页自动去搜索,返回搜索结果。
还是原来的代码,我们稍微修改一下启动命令:
go run . -rod=show,devtools
和此前一样,程序会自动打开一个浏览器页面,进入 wikipedia。这时我们需要通过一些手动 inspect 操作,找到输入框的 selector:
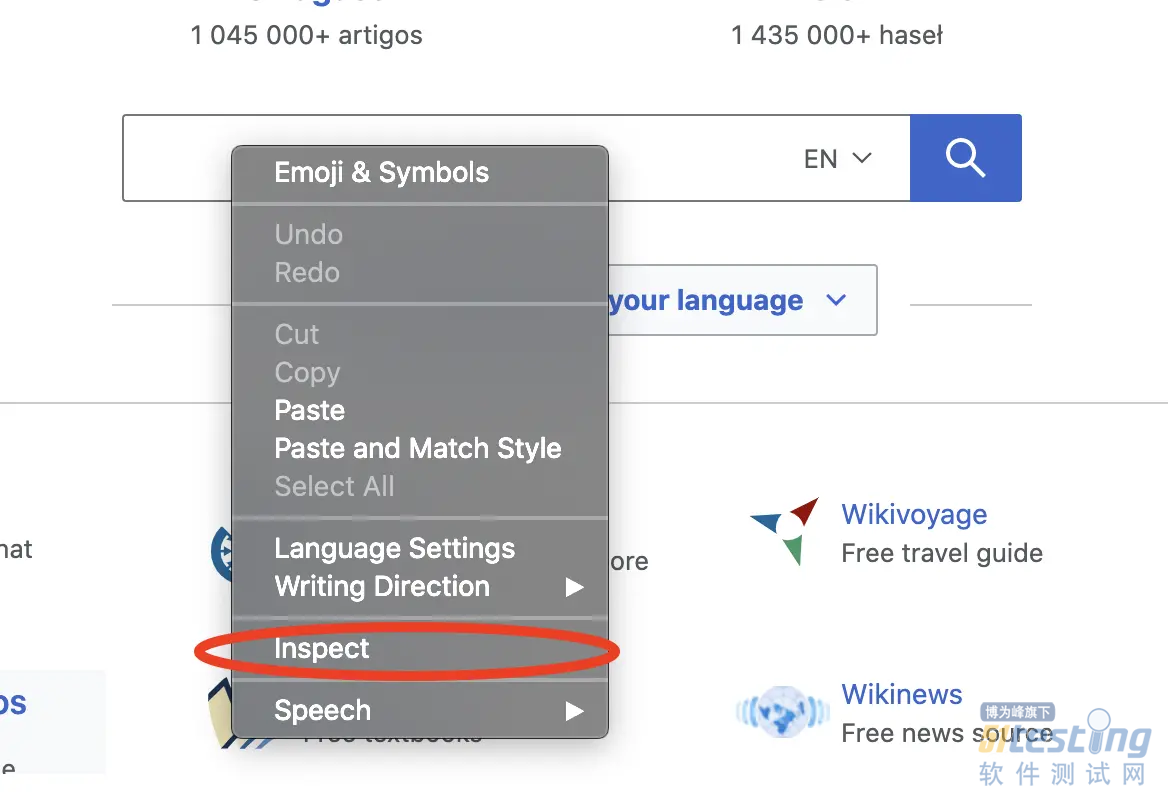
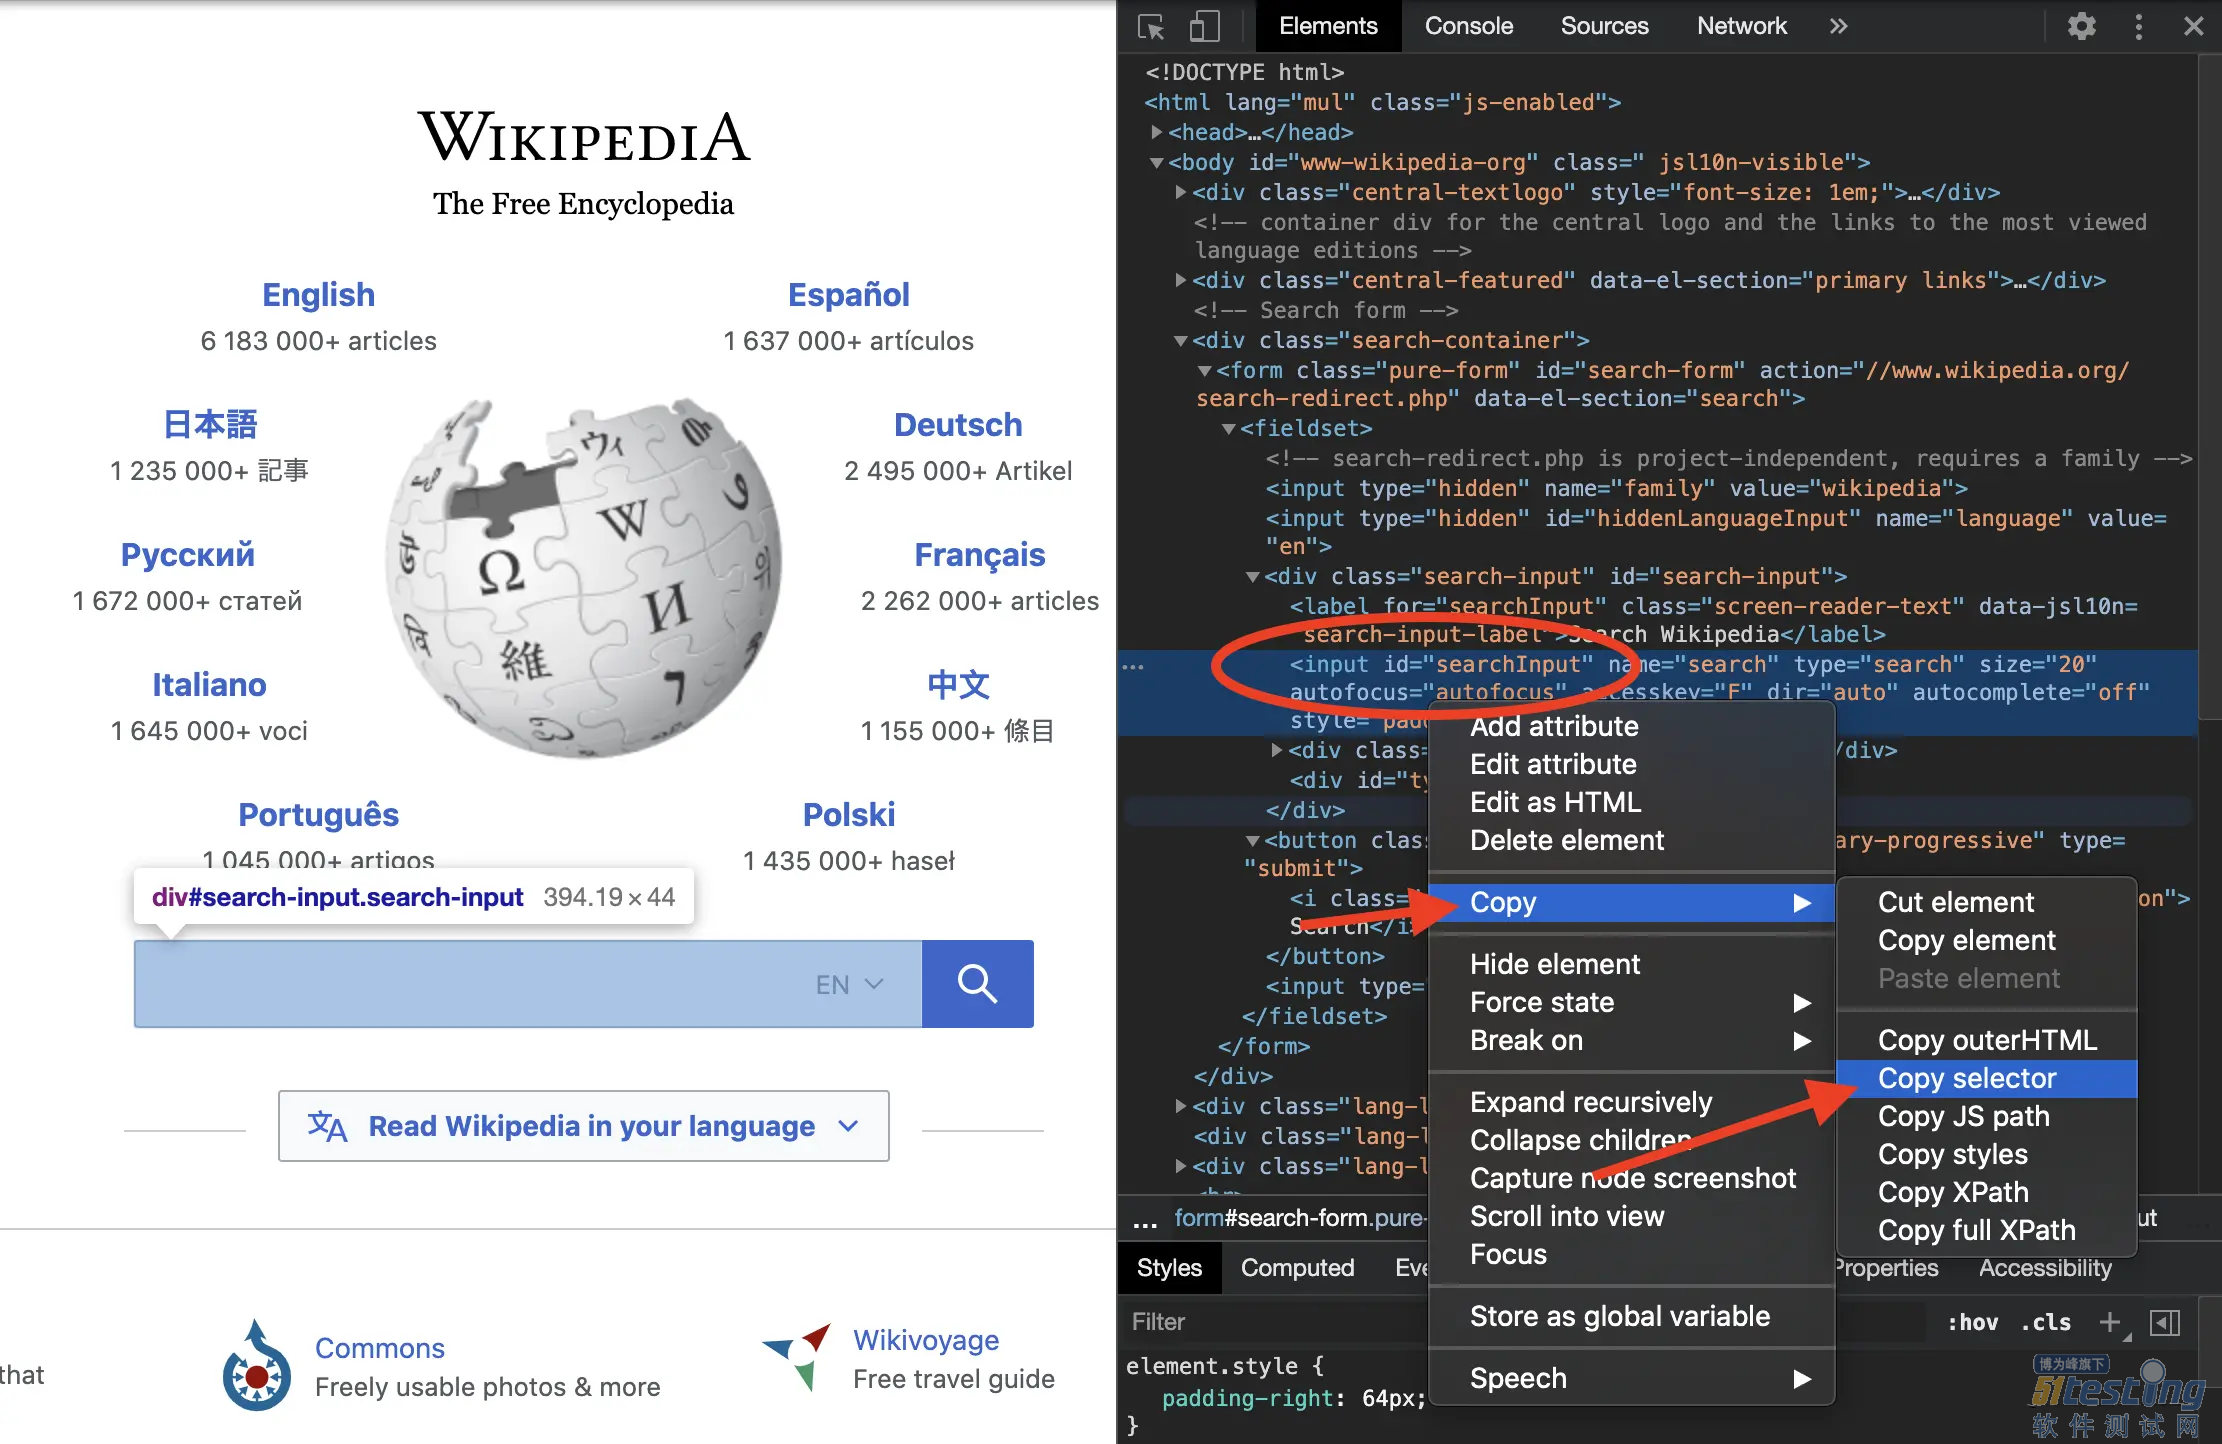
找到输入框 selector 后,copy 出来,这里我们会得到 #searchInput。
修改一下代码:
package main
import (
"time"
"github.com/go-rod/rod"
)
func main() {
browser := rod.New().MustConnect().NoDefaultDevice()
page := browser.MustPage("https://www.wikipedia.org/").MustWindowFullscreen()
page.MustElement("#searchInput").MustInput("earth")
page.MustWaitLoad().MustScreenshot("a.png")
time.Sleep(time.Hour)
}
注意,我们的修改仅仅是加上了 page.MustElement("#searchInput").MustInput("earth")。
MustElement 会帮助我们根据选择器,获取到对应的元素,返回了一个 Element。这里自动处理了等待加载的过程,所以我们不需要再次调用 MustWaitLoad 来阻塞。
// MustElement is similar to Page.Element
func (p *Page) MustElement(selector string) *Element {
el, err := p.Element(selector)
p.e(err)
return el
}
// Element retries until an element in the page that matches the CSS selector, then returns
// the matched element.
func (p *Page) Element(selector string) (*Element, error) {
return p.ElementByJS(evalHelper(js.Element, selector))
}
MustInput 是 Element 的方法,输入我们指定的文本。注意,Input 前会保证当前 Element 是可见的,可写入的,和我们自己打开浏览器页面等待加载的过程是一样的。使用空字符串则可以请求空 Element 的文本。
// MustInput is similar to Element.Input
func (el *Element) MustInput(text string) *Element {
el.e(el.Input(text))
return el
}
// Input focuses on the element and input text to it.
// Before the action, it will scroll to the element, wait until it's visible, enabled and writable.
// To empty the input you can use something like el.SelectAllText().MustInput("")
func (el *Element) Input(text string) error
好了,现在我们重新执行 main.go,输入框会按照我们预期,输入了 earth 这个字符串:

第一步完成,下一步,我们需要点击那个【搜索按钮】,让浏览器自动跳转到搜索结果页。
这里的操作也是类似的,我们就不再赘述。需要大家自行通过 chrome 的 inspect 找到搜索button的 selector,然后修改代码,配合点击即可。
修改后的代码如下:
package main
import (
"time"
"github.com/go-rod/rod"
)
func main() {
browser := rod.New().MustConnect().NoDefaultDevice()
page := browser.MustPage("https://www.wikipedia.org/").MustWindowFullscreen()
page.MustElement("#searchInput").MustInput("earth")
page.MustElement("#search-form > fieldset > button").MustClick()
page.MustWaitLoad().MustScreenshot("a.png")
time.Sleep(time.Hour)
}
注意,这里我们多了个新的方法,也是 Element 下面的:
// MustClick is similar to Element.Click
func (el *Element) MustClick() *Element {
el.e(el.Click(proto.InputMouseButtonLeft, 1))
return el
}
// Click will press then release the button just like a human.
// Before the action, it will try to scroll to the element, hover the mouse over it,
// wait until the it's interactable and enabled.
func (el *Element) Click(button proto.InputMouseButton, clickCount int) error {
err := el.Hover()
if err != nil {
return err
}
err = el.WaitEnabled()
if err != nil {
return err
}
defer el.tryTrace(TraceTypeInput, string(button)+" click")()
return el.page.Mouse.Click(button, clickCount)
}
MustClick 会模拟我们人工的操作,尝试滚到我们的 Element 位置,把鼠标挪上去,等待可点击。随后触发点击事件。
这样一来,我们重新运行 main.go,输出的 a.png 就会给我们 earth 的搜索结果了:

Slow Motion
rod 还提供了 slow motion 和 trace 的功能,方便我们在浏览器上观察发生的动作,让执行慢下来,这样我们才好观察到。
修改启动命令如下:
go run . -rod="show,slow=1s,trace"
这样就启动了 slow motion,所有动作执行前都会等待 1 秒钟。

我们还可以从 console(控制台)看到发生的动作:
[rod] 2020/11/11 11:11:11 [eval] {"js":"rod.element","params":["#searchInput"]}
[rod] 2020/11/11 11:11:11 [eval] {"js":"rod.visible","this":"input#searchInput"}
[rod] 2020/11/11 11:11:11 [input] scroll into view
[rod] 2020/11/11 11:11:11 [input] input earth
[rod] 2020/11/11 11:11:11 [eval] {"js":"rod.element","params":["#search-form > fieldset > button"]}
[rod] 2020/11/11 11:11:11 [eval] {"js":"rod.visible","this":"button.pure-button.pure-button-primary-progressive"}
[rod] 2020/11/11 11:11:11 [input] scroll into view
[rod] 2020/11/11 11:11:11 [input] left click
除了命令行里通过参数指定,我们还可以直接通过代码实现,slow motion 通过链式API 就可以做到:rod.New().SlowMotion(2 * time.Second)
获取文本
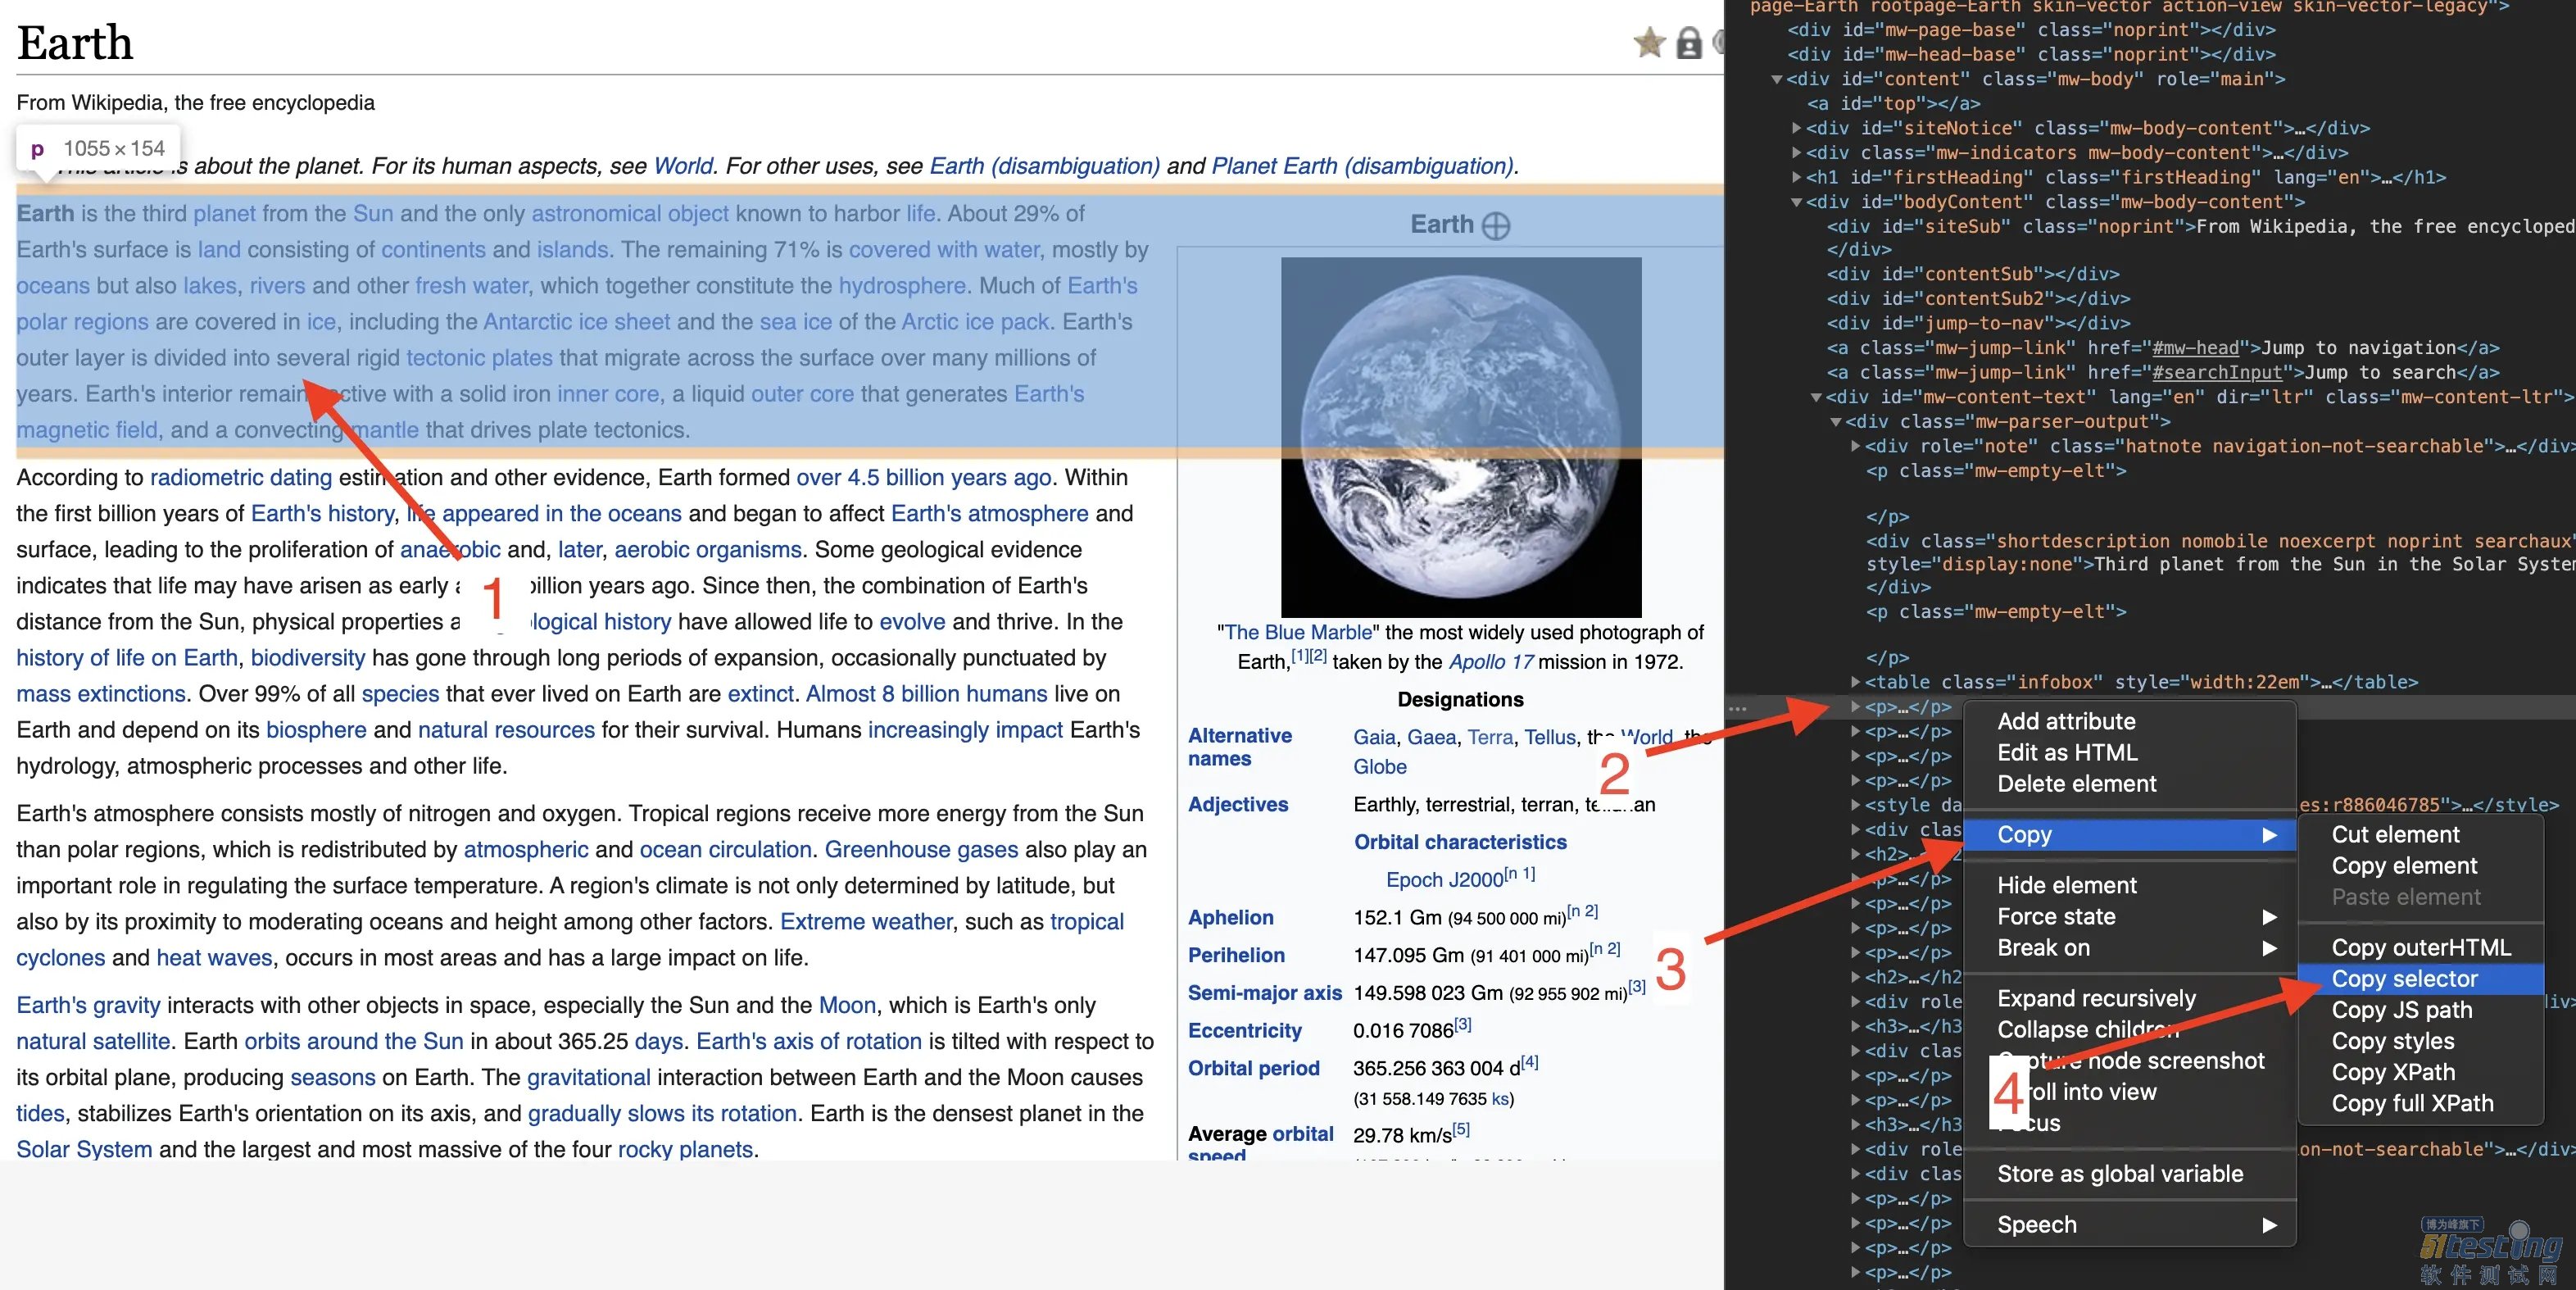
到这里其实就是经典的爬虫做法了,同样我们需要通过 inspect 拿到 selector:
前面我们见识了MustInput 以及MustClick,获取文本这里则需要用到 MustText。
// MustText is similar to Element.Text
func (el *Element) MustText() string {
s, err := el.Text()
el.e(err)
return s
}
// Text that the element displays
func (el *Element) Text() (string, error) {
str, err := el.Evaluate(evalHelper(js.Text))
if err != nil {
return "", err
}
return str.Value.String(), nil
}
底层获取到 Element 中的文本,以 string 返回回来,非常简单。我们修改下代码:
package main
import (
"fmt"
"github.com/go-rod/rod"
)
func main() {
page := rod.New().MustConnect().MustPage("https://www.wikipedia.org/")
page.MustElement("#searchInput").MustInput("earth")
page.MustElement("#search-form > fieldset > button").MustClick()
el := page.MustElement("#mw-content-text > div.mw-parser-output > p:nth-child(6)")
fmt.Println(el.MustText())
}
重新运行项目,这是我们不再看到截屏,而是在命令行看到爬下来的文本:
Earth is the third planet from the Sun and the only astronomical object known to harbor life.
...
本文内容不用于商业目的,如涉及知识产权问题,请权利人联系51Testing小编(021-64471599-8017),我们将立即处理


