

在类名上面点击右键生成test测试类

测试类生成截图
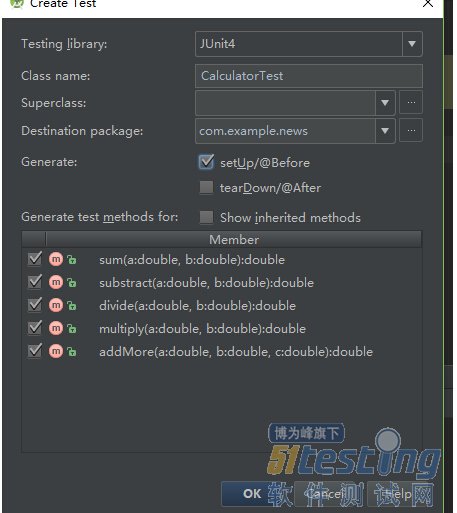
测试类名,勾选测试方法
会在测试类的包中自动生成测试类
package com.example.news; import org.junit.Before; import org.junit.Test; import static org.junit.Assert.*; /** * Created by 小新 on 2016/7/1. */ public class CalculatorTest { @Before public void setUp() throws Exception { } @Test public void testSum() throws Exception { } @Test public void testSubstract() throws Exception { } @Test public void testDivide() throws Exception { } @Test public void testMultiply() throws Exception { } @Test public void testAddMore() throws Exception { } } |
然后进行测试
package com.example.news; import org.junit.Before; import org.junit.Test; import static org.junit.Assert.*; /** * Created by 小新 on 2016/7/1. */ public class CalculatorTest1 { private Calculator calculator; @Before public void setUp() throws Exception { calculator = new Calculator(); } @Test public void testSum() throws Exception { //测试sum函数,因为sum函数返回的是两个数的合为3 //这里期望返回的值是9 //所以会报错 assertEquals(9d,calculator.sum(1d,2d),0); } @Test public void testSubstract() throws Exception { } @Test public void testDivide() throws Exception { } @Test public void testMultiply() throws Exception { } @Test public void testAddMore() throws Exception { } } |
运行这个类,结果为报错,这个时候我们就需要修改函数了
到这里我们JUnix的简单测试就结束了


